

Brain Breeze Kick-off: Design Your Brain-Powered Fan
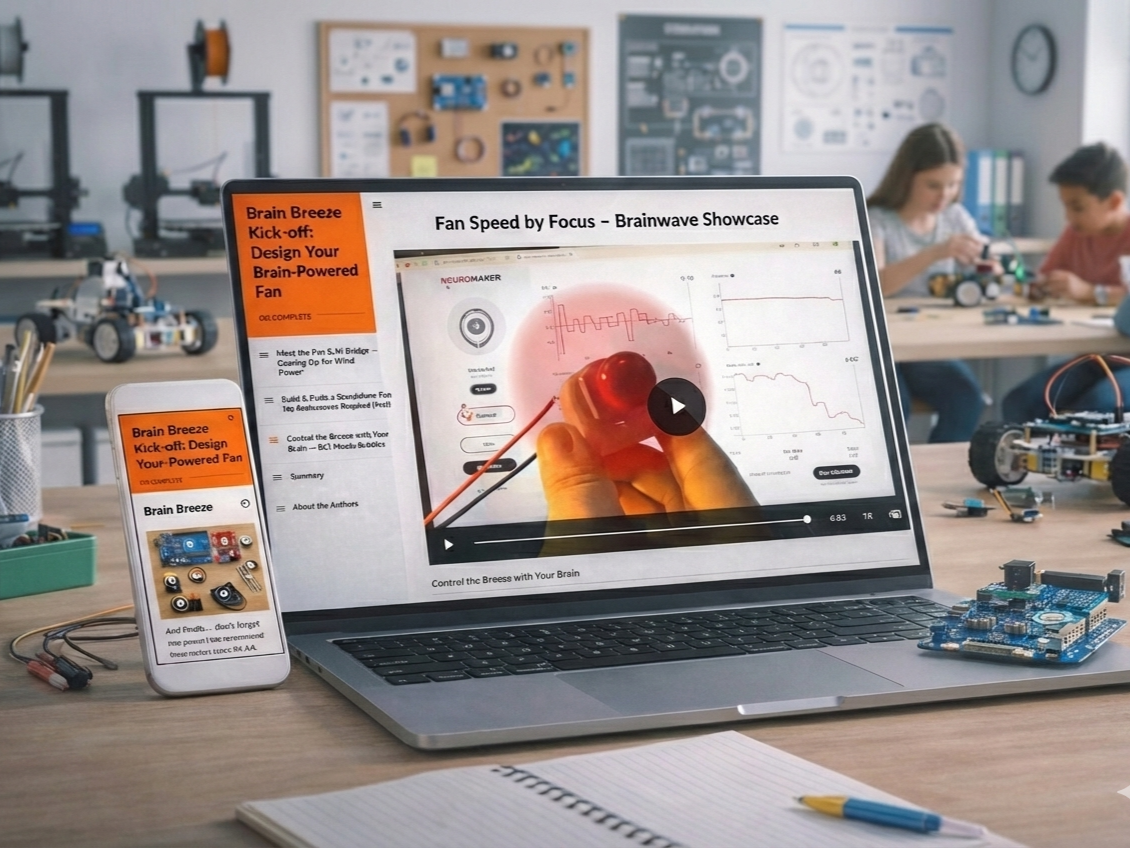
Students build a complete brain-controlled fan system—wiring DC motors, H-bridge circuits, and Arduino boards, then programming them to respond to real-time attention data from a BCI headset.
Higher focus = faster fan speed, making neuroscience principles immediately tangible.
Audience: Middle to high school students (ages 12-18) and teachers
Responsibilities: Content Design, Instructional Design, eLearning Development, Action Mapping, Visual Design
Tools Used: Articulate Rise 360, Canva, Arduino IDE, NeuroMaker BCI Connect, Video/GIF Editing Tools
The Problem
Circuit wiring is intimidating—students must simultaneously track multiple wire connections, understand component polarity, and troubleshoot invisible errors. One misplaced wire means nothing works.
Existing learning materials make this worse: most Arduino tutorials are dry, text-heavy, and fail to bridge theory to practice. Students read about PWM signals and H-bridge logic but can't visualize how these concepts translate into actual wire connections.
When brain-computer interfaces are added, the gap between abstract knowledge and practical application becomes overwhelming.
The Solution
I designed a "small wins" progression where students build confidence through immediate, visible success before tackling complexity.
Instead of connecting the BCI headband directly to the fan, students first make the fan work through code-controlled speeds. This proves their circuit works before adding brainwave control.
The approach required translating technical wiring procedures into LEGO-manual-style visual instructions and chunking the project into achievable stages that combine conceptual understanding with immediate hands-on application.
Coming from a non-engineering background, I learned circuits and Arduino programming through YouTube, STEM resources, and AI tools. This "last learner" perspective helped me design clearer instruction. I knew exactly where novices get stuck and could simplify complex knowledge accordingly.
Project Overview
Activity 1: Meet the Fan & H-Bridge
Students learn what each component does (DC fan creates airflow, H-bridge amplifies power, Arduino sends control signals) and why they must work together. Interactive diagrams with clickable hotspots let students explore each part at their own pace.
Activity 2: Build & Code a Standalone Fan
Students wire the complete system and upload test code that automatically cycles the fan through three speeds (low, medium, high). This creates the first "win." Seeing the fan change speeds confirms their wiring is correct. Only after this validation do they move to brain control.
Key design decision: Separating circuit validation from BCI integration isolates troubleshooting. If the fan works in Activity 2, any problems in Activity 3 are BCI-related, not wiring-related.
Activity 3: Control the Breeze with Your Brain
Students connect the NeuroMaker BCI headset and watch their attention levels control fan speed in real time. The optional bubble-blower attachment makes abstract brainwave data tangible. Higher focus = more bubbles streaming through the air.
Iteration note: We originally tested using the fan to propel a toy boat, but the motor wasn't powerful enough. Switching to bubbles provided better visual feedback and made brain-to-motor control immediately obvious.
Key Design Strategies
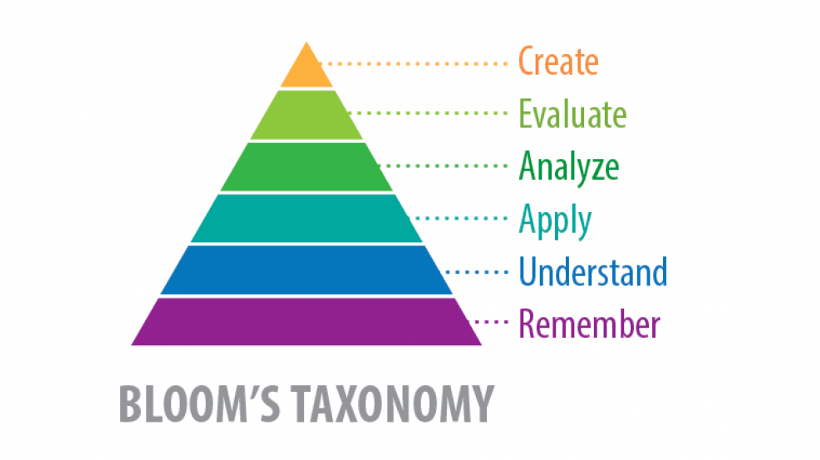
1. Layered Learning Progression Based on Bloom's Taxonomy
The three activities follow a deliberate cognitive progression to facilitate understanding and prevent overwhelm:
Understanding (Activity 1): Students learn what each component does and why they work together before touching any hardware
Application (Activity 2): Students apply knowledge by wiring circuits and uploading code, seeing immediate results as the fan cycles through speeds
Creation (Activity 3): Students integrate brain control, making real-time adjustments and optionally designing bubble visualizations
This structure ensures students build foundational knowledge before hands-on practice, and master standalone systems before adding complexity.
2. LEGO-Manual-Style Visual Instructions
The biggest design challenge was making circuit connections approachable for novices. I used layered visual scaffolding:
Annotated photos showing exactly where each wire connects, with arrows and labels
Color-coded connection tables (H-Bridge Pin → Arduino Pin → Purpose)
Close-up images of screw terminals, jumper placement, and wire stripping
Warning callouts highlighting common mistakes (reversed polarity, loose connections)
Step-by-step photo sequences that mirror LEGO instruction manuals (one clear action per image)
This visual approach came from my own learning experience. When teaching myself circuit connections, I found that unclear diagrams were the biggest barrier. I redesigned the instructions the way I wished they had been presented to me as a learner.
3. Scaffolding Through Knowledge Checks and Encouragement
Strategic checkpoints reinforce learning and build confidence:
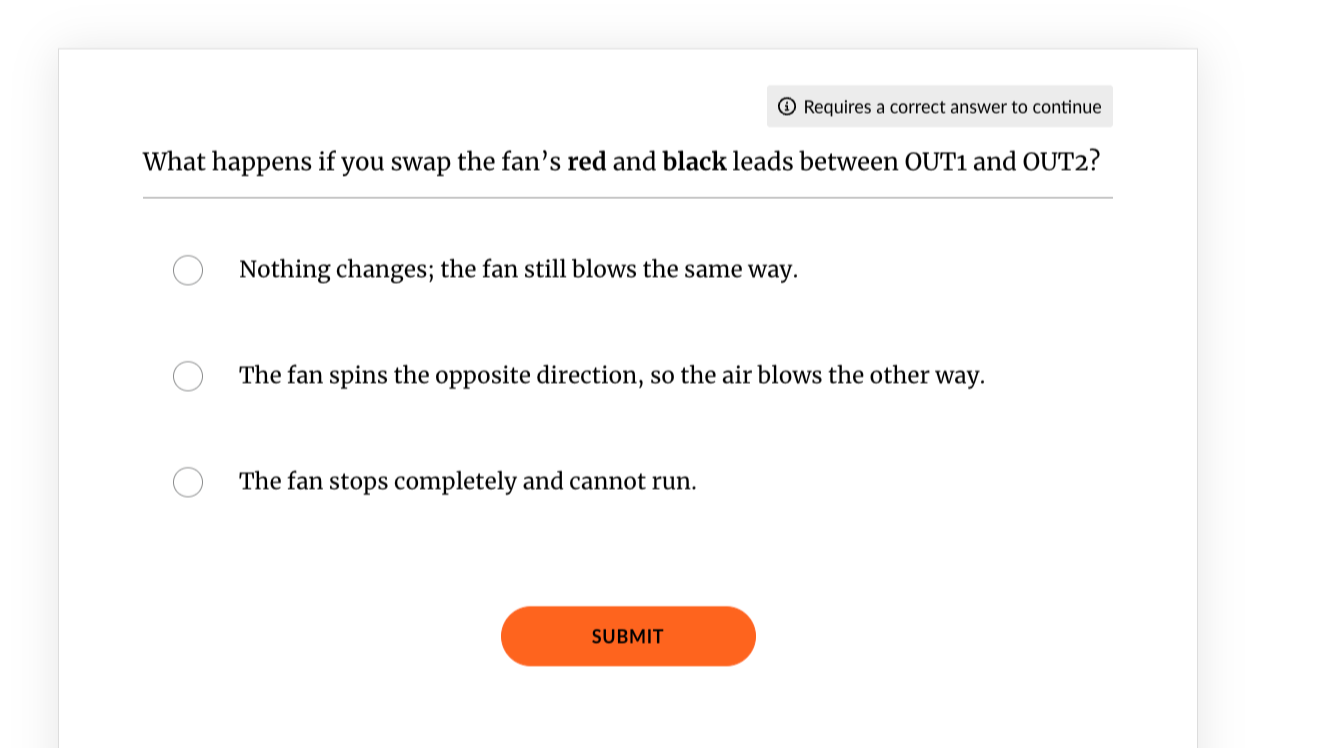
Knowledge checks appear after key concepts to strengthen understanding through spaced retrieval practice:
After learning about the H-bridge: "What job does the H-bridge perform?"
After learning about PWM: "Which pin receives the PWM signal?"
Encouragement validates effort at achievement moments:
After successful wiring: "If your fan is spinning at three distinct speeds, you've built a solid circuit."
After brain control works: "That takes serious patience, curiosity, and focus. You've built something that responds to your mind in real time. That's no small feat!"
This combination of verification and validation helps students confirm their understanding while building the confidence to tackle the next challenge.
Reflections and Takeaways
The layered learning progression worked. Students who validated their circuit in Activity 2 approached brain control with confidence, knowing their wiring was solid. The LEGO-manual visual approach made connections "less scary." Multiple students commented that annotated photos helped them verify each step without anxiety.
My learning journey shaped better instruction. Designing while simultaneously learning circuits and Arduino programming gave me direct insight into the novice experience. I could anticipate exactly where students would get confused because I had just navigated those same obstacles. This "last learner" perspective helped me translate complex technical knowledge into beginner-friendly instruction through continuous self-learning and iterative testing.
What I'd Improve: Connect the project to real-world applications. H-bridge motor control powers electric vehicles and robotics. Brain-to-motor pathways appear in prosthetic limb research and neural rehabilitation devices. Adding these connections would show students that their fan project builds foundational skills for emerging careers in biomedical engineering, assistive technology, and robotics.